How to add a watermark to a photo
If you share photos of your work —designs, products, photography— a watermark keeps your authorship visible and discourages use without permission. You don't need a complicated editor: it's enough to put your name or brand over the image, with the right size and opacity. This guide shows where to place it, how to keep it discreet but legible, and how much it really protects.
Text mark: the simplest and most effective
The most common and quickest watermark is text: your
name, your @handle or your brand name. You type it, drag it
wherever you want and adjust size, color and effect. The key to a
professional look is in three details: position, size and legibility.
Step by step
- Open your photo in the watermark tool.
- Type your name or brand.
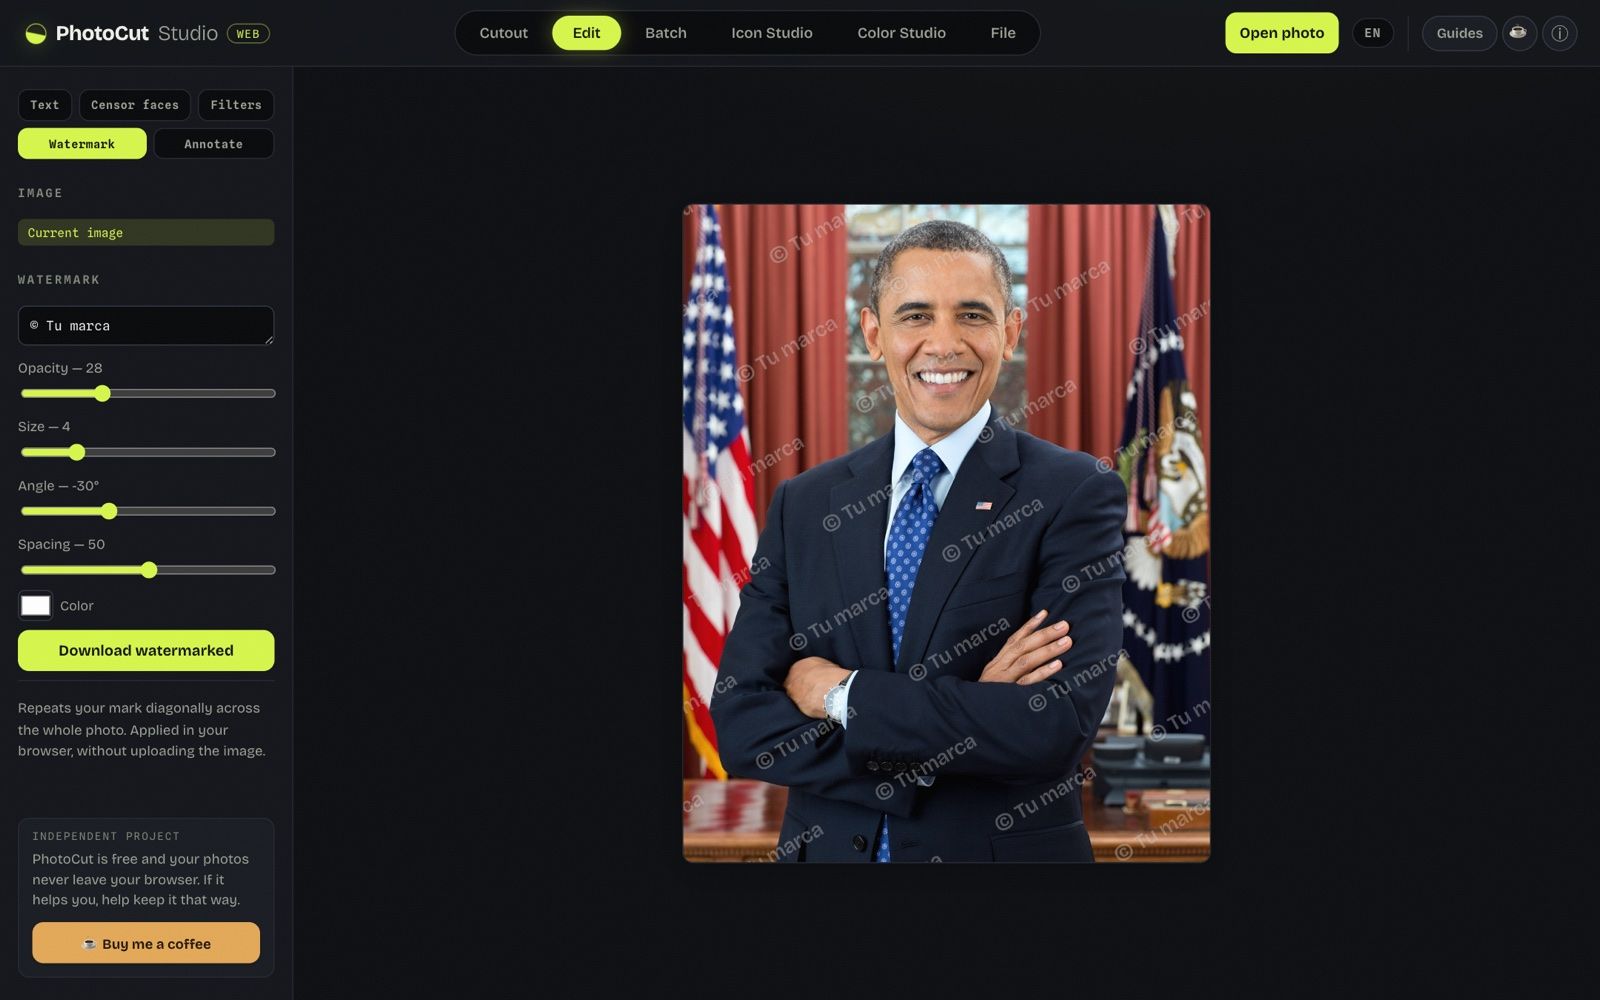
- Drag it to a corner and shrink the size (or use the tiled mode to cover the whole image).
- Choose a light color with an outline or shadow so it reads on any background.
- Download as PNG or JPG.
Where to place it: protection vs. aesthetics
- Corner (bottom right): the standard, discreet and elegant — but easy to crop off.
- Centered or large: harder to remove, at the cost of covering part of the photo. Useful for previews you don't want used.
- Tiled (repeated): maximum protection, minimum aesthetics; used by stock image banks.
For most cases, a discreet mark in a corner is the best balance.
The detail: readable on any background
A white mark disappears over a light area; a black one, over a dark one. That's why it pays to enable an outline or a shadow: it separates the text from the background and keeps it readable always, no matter what's underneath. White with a subtle dark outline is the safest combination.
How much does it really protect?
Let's be honest: a watermark deters, it doesn't armor. One in the corner can be cropped; a centered one, someone can try to remove. But it keeps your authorship visible, stops casual use and works as a signature. For more protection, combine the mark with not publishing the full resolution of your photos.
Without uploading your photo anywhere
Everything is composed in your browser: the watermarked photo is generated locally and isn't uploaded to any server.
Frequently asked questions
What opacity should it have?
Semi-transparent, with a light color and a subtle outline: it looks professional and doesn't cover the photo. Neither too opaque nor too faint.
We tested it: how much of the photo the tiled watermark covers and how much the result weighs
Image: quitar-fondo-antes.jpg, 720 × 900 px, 78.4 KB (public-domain portrait).

Tool: Edit → Watermark.
What I did:
- I opened the portrait, went to “Edit” → “Watermark” and typed “© Prueba PhotoCut”.
- I left size 4, angle −30° and spacing 50 (the default values) and downloaded with opacity 28 and with 60.
- I compared each PNG with the original pixel by pixel (difference > 8 levels in some channel).
What I measured:
- Opacity 28: 720 × 900 px, 1033 KB; 5.5% of the pixels changed (mean difference 3.06 levels).
- Opacity 60: 1060 KB; 6.3% of the pixels changed (mean difference 6.11).
- The original is a 78 KB JPG and the output is always PNG: it weighs 13.2 times more.
What went wrong or what limit I saw: The output is always PNG: a 78 KB photo became more than 1 MB. At opacity 28 the watermark touches around 5% of the pixels. I didn't measure how hard it is to remove with other tools, so I can't confirm that the tile pattern is “hard to remove”: I only measured how much it covers.
More guides and tools
Photo filters
Black & white, sepia, vivid and brightness/contrast/saturation adjustments, in your browser.
How to remove the background from an image free (and without uploading it)
The three methods and when to use each, how to do it free with no watermark, and how to remove a background on your phone.