How to cut a person out of a photo without visible edges
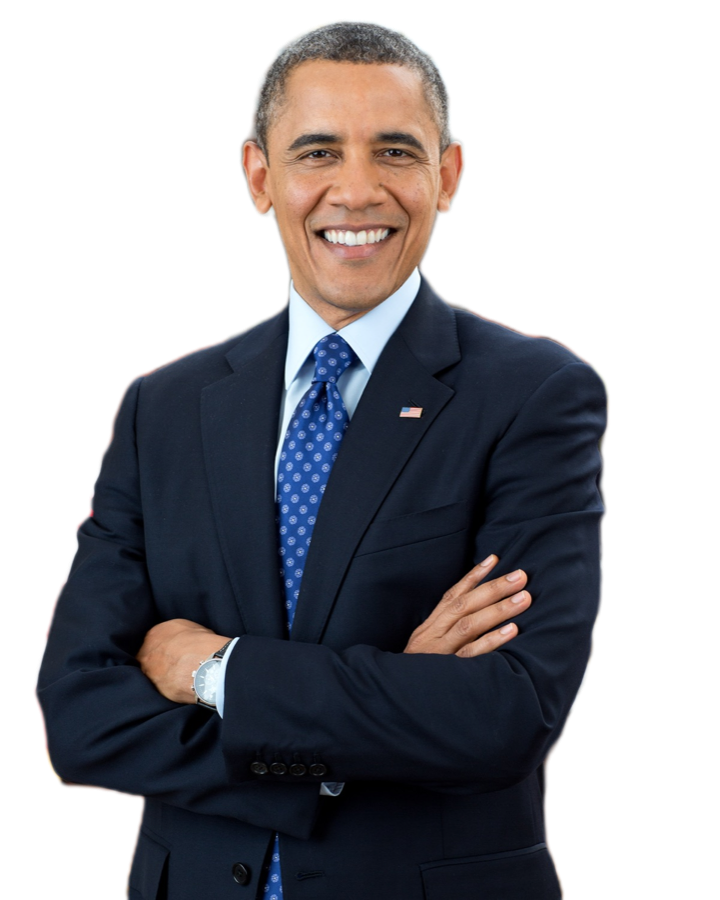
Cutting a person out of a photo —to drop them on another background, make a collage, a flyer or simply isolate them— has an easy part and a hard part. The easy part is the general silhouette: automatic cutout solves that in one click. The hard part is the edges: hair, fingers, the gap between arm and body. That's where you can tell whether a cutout is well done or looks like a sticker. This guide is exactly about that: how to go from the automatic cutout to a result that doesn't scream "cut out".
The workflow that works: automatic first, brushes after
The temptation is to do it all by hand or expect the automatic to be perfect. Neither. The efficient workflow is in two layers:
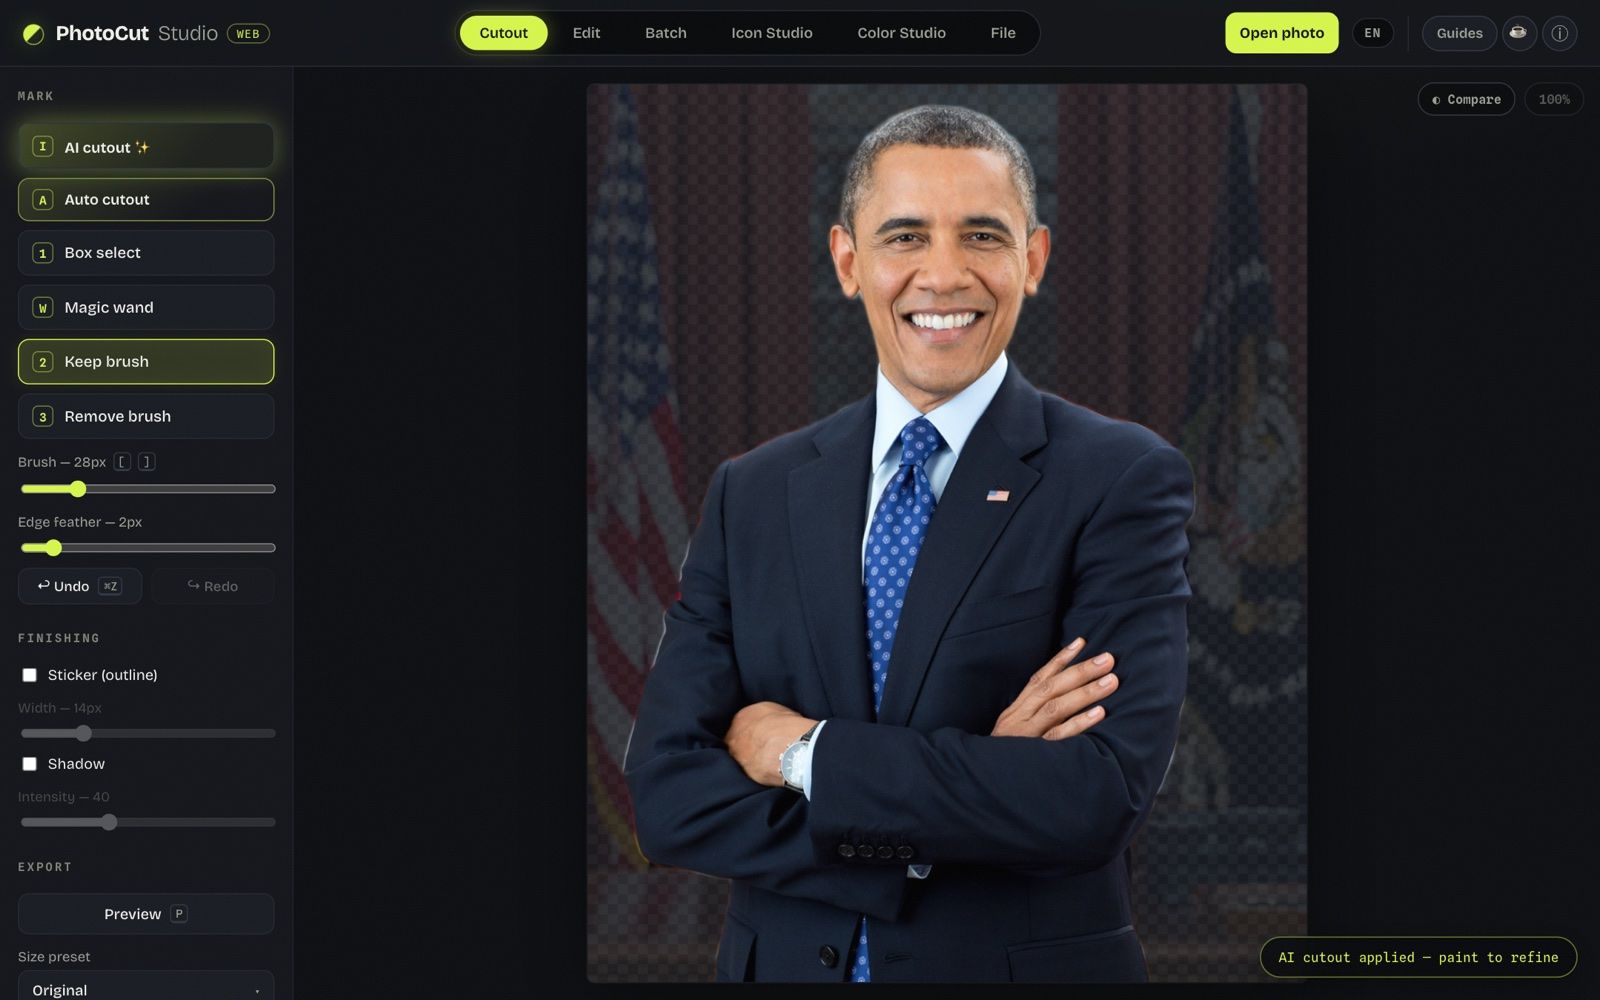
- Layer 1 — AI Cutout: detects the person and does 90% of the work in a second. It leaves the silhouette resolved.
- Layer 2 — Brushes: you only fix the hard 10%. A keep brush to recover what got eaten and an erase brush to remove leftover background.
Thinking of it this way saves a lot of time: you don't go over the whole silhouette, just the trouble spots.
Step by step
- Open the photo you want to cut the person from in PhotoCut Studio.
- Apply the AI Cutout: it detects the figure and separates it from the background.
- With the keep and erase brushes, fix the hard areas: strands of hair, fingers, the space between arm and body.
- Choose the background: transparent, a color, or a new image.
- Export as PNG or WebP if you need transparency; as JPG if the final background is solid.
The hair: the acid test
If a person cutout looks bad, it's almost always the hair. A hair outline cut "in a block" —like a helmet— is the unmistakable mark of a rushed cutout. To keep it natural:
- Work with zoom. Get close to the hair area; at full size you won't see the fine strands.
- Small brush on the edges. A big brush wipes out detail. On the hair outline, shrink it.
- Don't fight impossible loose strands. Some isolated hairs against a complex background can't be saved; a tidy outline beats one with weird fringes.
- Check against the final background. Hair that looks fine on gray can show halos on a dark background. Try it on the real background before exporting.
Several people, or one from a group
Automatic cutout detects the people in the scene. If you want to keep all of them, you touch up each one's edges. If you want to isolate just one from a group, it helps to use the box first to narrow that person's area and then refine with the brushes, painting to erase the others.
What this cutout doesn't do
Worth clarifying so you don't get frustrated. Cutting out a person is for isolating them (keeping them, moving them to another background, placing them in a design). What it does not do is fill the gap a deleted person leaves in the middle of a scene —to "remove someone from the photo" and have the background complete itself you need a content-aware erase, which is a different feature. Here the focus is a clean cutout of the figure.
Photos with people don't leave your device
Photos with people tend to be the most personal. In PhotoCut Studio the cutout happens in your browser: they aren't uploaded to any server or stored once you close the tab.
Frequently asked questions
Does it work to remove a person who's in the way?
It depends on what you're after. If you want to keep just one person, you cut them out and discard the rest. If you want someone to disappear from the scene and the background rebuilt behind them, it doesn't: this editor doesn't reconstruct what that person was covering.
We tested it: where the edge is weakest and how much one brush stroke changes
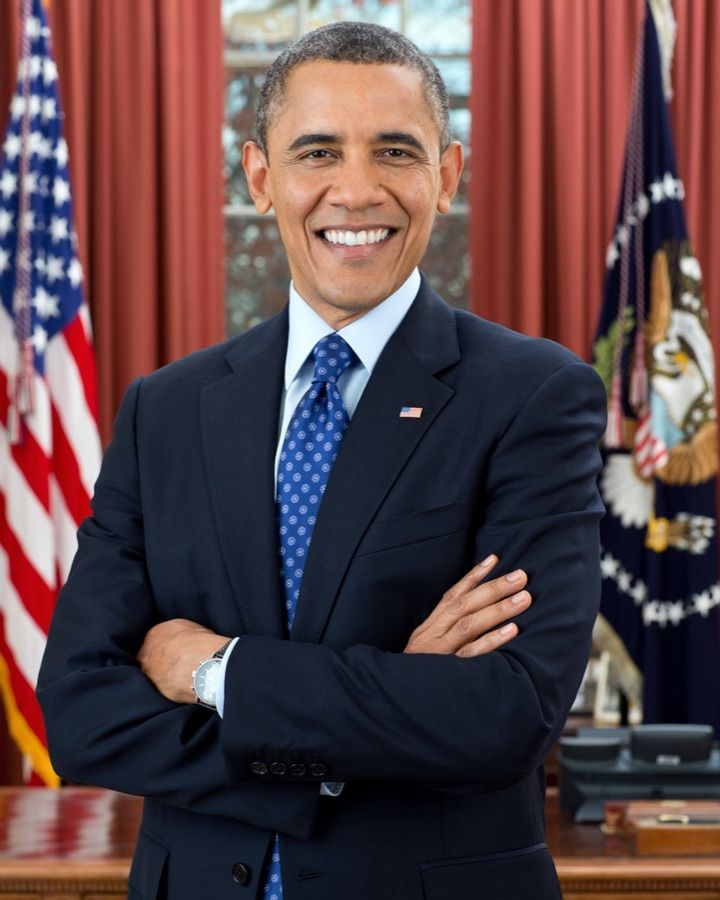
Image: quitar-fondo-antes.jpg, 720 × 900 px, 78.4 KB (public-domain portrait).
Tool: Cutout → AI cutout and Remove brush.
What I did:
- I loaded the portrait and applied “AI cutout”.
- I downloaded the PNG and split it into four strips (head, shoulders, arms, torso) to count the semi-transparent pixels along the outline.
- I chose “Remove brush” at 12 px and ran it over the left shoulder's outline, top to bottom, in a single stroke.
- I downloaded again and compared pixel by pixel; then I pressed “Undo” and downloaded once more.
What I measured:
- AI cutout: 21.7 s. Approximate width of the semi-transparent edge band (semi-transparent pixels per outline pixel): head and hair 11.0 px, shoulders 10.7 px, arms 9.4 px, lower torso 9.6 px. The blurriest area was head and hair.
- One 12 px Remove brush stroke over the shoulder changed 0.15% of the image's pixels (opaque: 49.1% → 49.0%).
- “Undo” returned an image identical to the original cutout (same hash of the RGBA pixels).
What went wrong or what limit I saw: I couldn't reproduce the fringe on the shoulders that the previous version of this guide described: in this portrait the outline looked clean to the naked eye, so I made the brush stroke anyway, to measure how much it changes, not to fix anything. Hair is the area where the edge is blurriest, but I didn't measure how visible that is on a new background. The AI cutout took ~22 s because it was the first one in a new tab on a Mac with a GPU: that includes downloading the model from my machine and preparing the GPU; in the same tab, the following ones take about 4 s.
More guides
How to remove the background from an image free (and without uploading it)
The three methods and when to use each, how to do it free with no watermark, and how to remove a background on your phone.
How to change the background of a photo free (color or another image)
Cut out the subject and place it on a solid color or another image, with opacity control.